Yes, it can be done; I did it. I have lots of pictures for you!
My cloth diaper stash started with 6 Bumgenius 3.0 pocket diapers. I bought three in October 2009 to try, followed by 3 more about a week later. Those 6 got a ton of use as I slowly built up my stash. As I expected, after nearly constant use, the aplix started to curl, and the laundry tabs started to shrink. Three of the six were replaced under the Bumgenius warranty, (Cottonbabies’ warranty and customer service are superb by the way) however, the other three really weren’t bad enough to be replaced before the 1-year warranty ended.
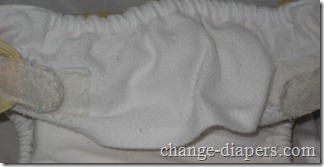
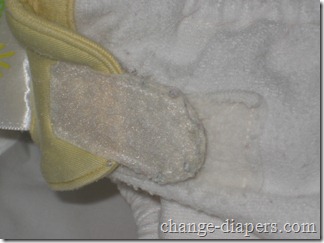
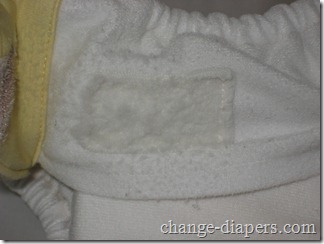
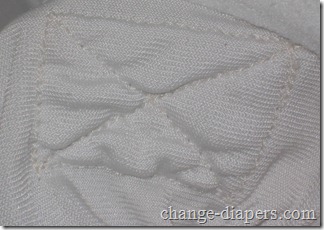
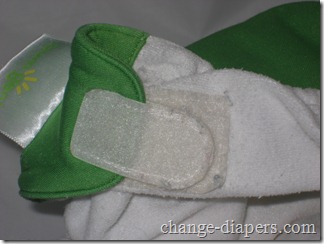
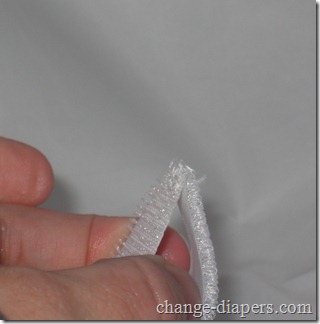
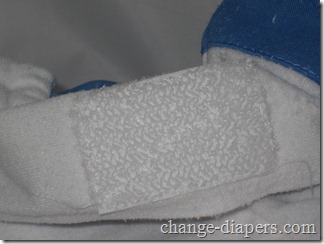
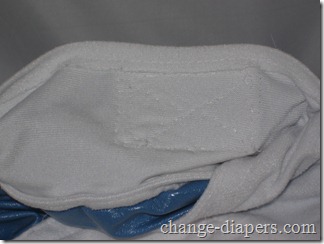
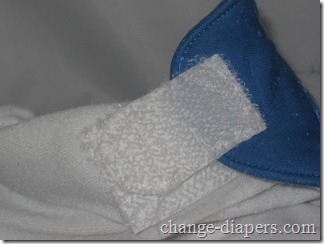
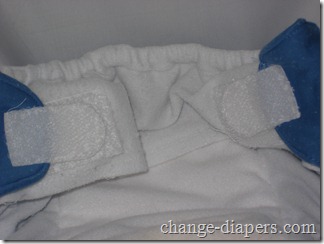
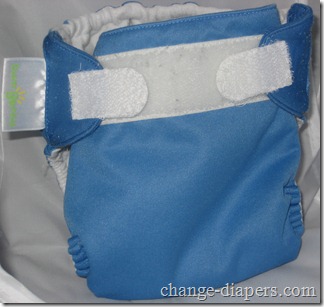
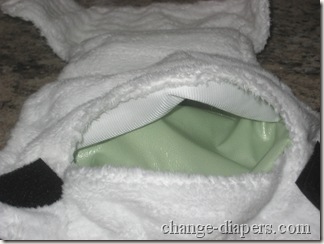
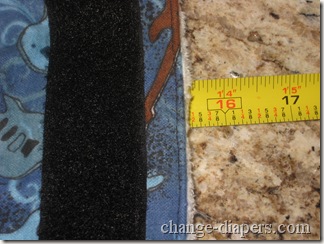
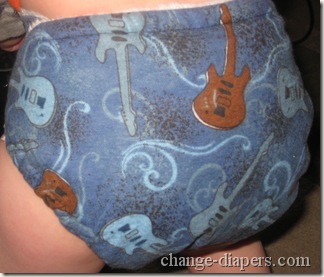
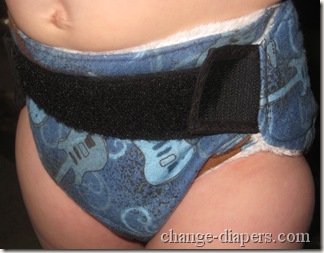
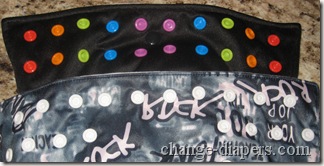
I have quite a stash of diapers in rotation now; I wash every other day, and diapers are used just a few times a week. However, two of my Bumgenius 3.0s are still my primary night time diapers (I rotate 4, including a fitted/wool, but the BG are my favorites) so they are still used a lot. You can see above that the laundry tabs are shrunken and the closure tabs are starting to curl. They still stick fine to the front of the diaper, but they don’t stick to the laundry tabs anymore.

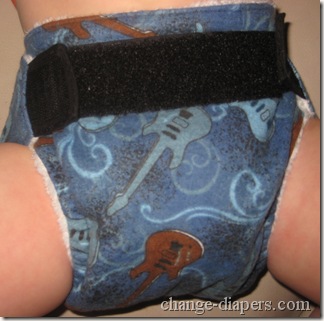
On the other hand, one 3.0 that has been in my regular rotation still looks fine after 16 months.
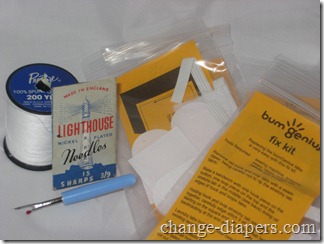
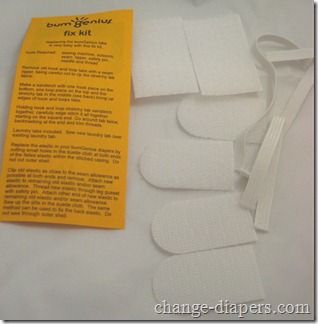
Cottonbabies sells Bumgenius refresher kits for $1.00 each. They include 3 pieces of elastic, two closure tabs, two laundry tabs, and ship for free.
The kits also include instructions for doing the repairs with a sewing machine. I’ve adapted them to do it by hand! Luckily, I didn’t need to replace any elastic, so I’ve just done the closure and laundry tabs. I decided to try this on a Bumgenius 3.0 AIO I got for free with a coupon code. That way if I really screwed it up, I wouldn’t be heartbroken!
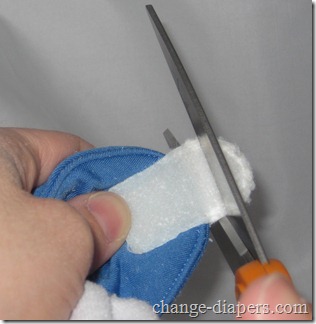
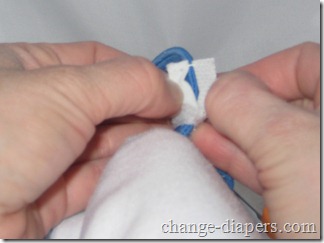
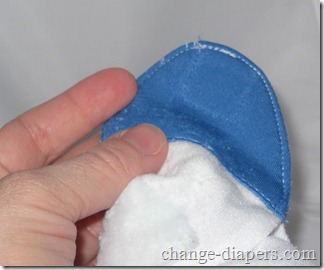
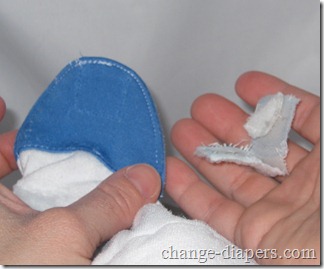
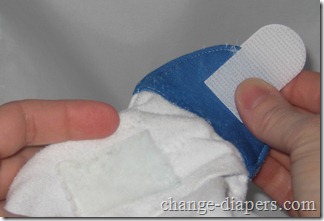
First, I very carefully cut the ends of the closure tabs. The instructions say to remove them with a seam ripper, but I found it much easier to cut the tabs first. Of course, you want to be very careful not to cut the diaper!
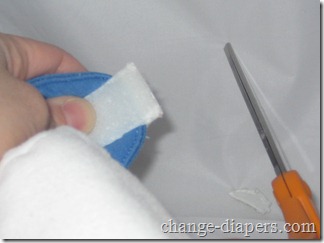
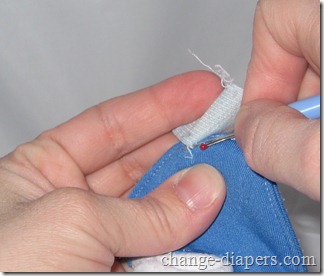
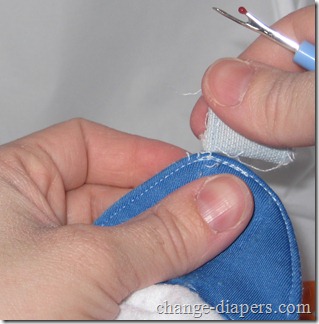
After cutting the ends of the tabs off, it was easy to use a seam ripper to loosen the tabs and remove them.
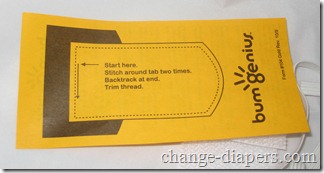
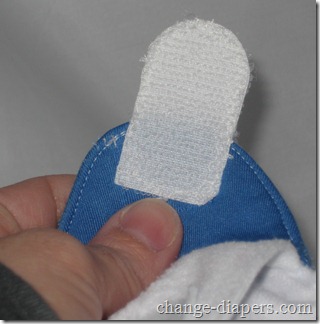
The refresher kit included instructions on how to attach the new tabs of course.
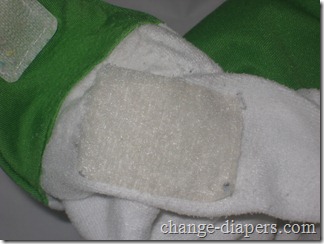
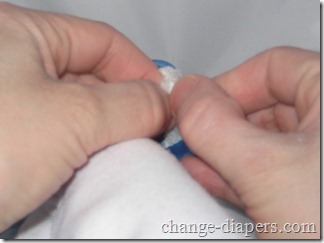
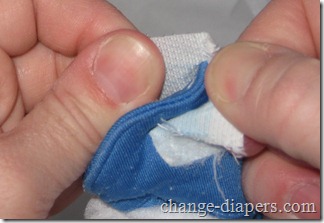
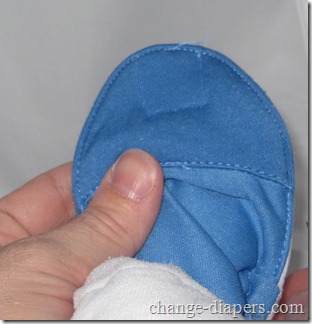
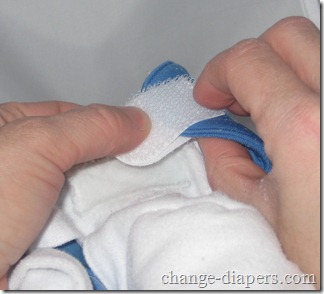
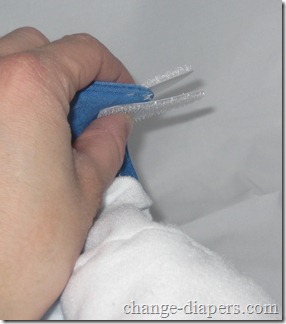
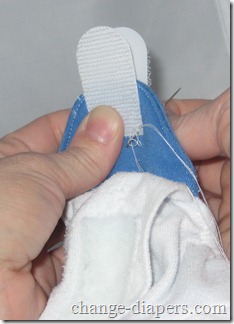
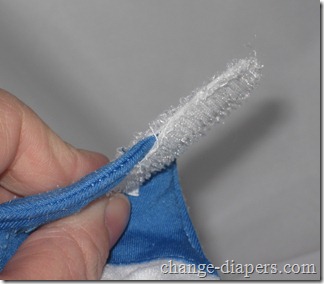
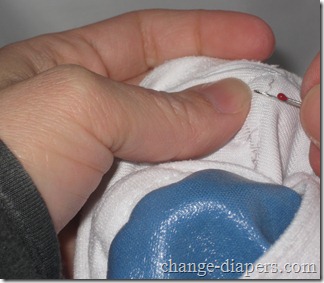
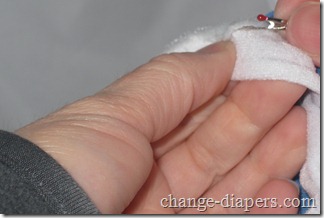
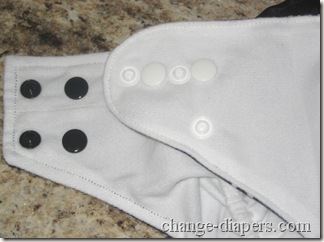
Once I had placed the new tabs, I decided to put a couple stitches to hold the tabs together. This way it was a little bit easier to keep the tabs in the right place against the diaper, and against each other.
As instructed, I started on the flat side and went around the tab twice.
When I finished, I realized the tab had slipped a bit as I was sewing, and ended up a little crooked. It really doesn’t matter, since the laundry tabs and front strip are quite large and forgiving!
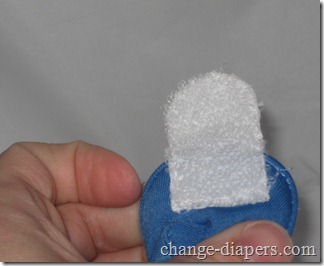
The awesome thing about these refresher kits, is that they include the new, “4.0 style” laundry tabs, which (so far) seem to function and hold up far better than the 3.0 style. Of course, if you are buying these kits from your favorite retailer, check with them first to see which style kit they have.
The instructions say to sew right over the old laundry tabs, but I decided to remove them.
It took a little longer to remove these than the closure tabs, but it was still pretty quick work.
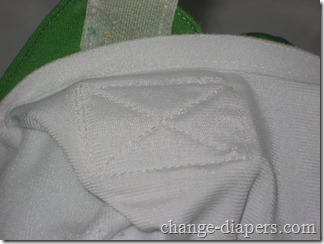
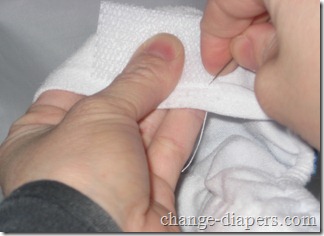
I sewed around the edge of each laundry tab, then in an x through the middle, like the original tabs.
I didn’t really worry too much about making my stitching perfectly even and straight, and I don’t think it was noticeable on the finished tabs.
I am pretty happy that $1.00 and some time gave my diapers new life!
I’m not going to lie, this was definitely a little time consuming and tedious to do by hand!
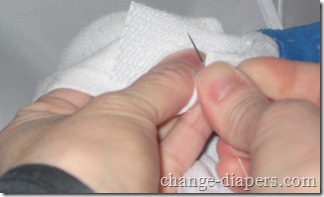
The hardest part was going through the thickest portion of the tab where the diaper’s stretchy tab was seamed. I probably wouldn’t sit down and try to refresh a whole stack of diapers by hand in one sitting, but I will do the others one at a time eventually!
I’m not sure exactly how long it took me; it definitely took me a bit longer since I was taking pictures as I went. I’m sure the next diapers will go more quickly since I know what I’m doing now! I want to order an extra kit to replace the horrid laundry tabs on my Blueberry diaper too!
















 Maria wants to live in a world where cloth diapers are the norm and moms can make parenting choices without judgement. When she’s not chasing her 18, 14 and 11-year old kids around, you might find her checking out the latest gadgets, organizing something (again) or exercising in the fresh air.


